Getting Started with 4HSE
In this guide, we will see how to perform your first login to 4HSE, how to use the initial setup wizard, and how the 4HSE interface is structured.
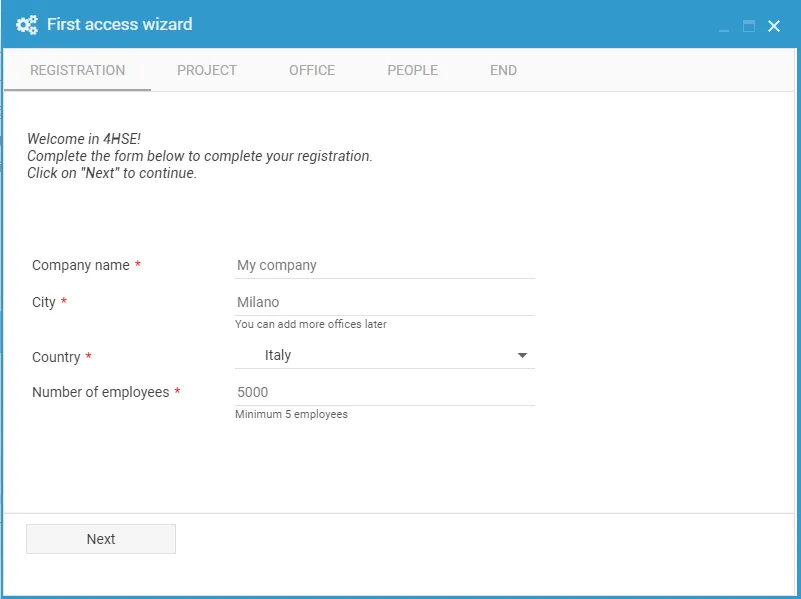
First Login Wizard
Section titled “First Login Wizard”After entering your username and password, you’ll land on the 4HSE desktop. Here, a guided setup will walk you through the service configuration in two steps: First, you’ll define the project settings for your company. Then, you’ll go through three introductory screens that explain the core elements of 4HSE: project, site, and people.
Interface Overview
Section titled “Interface Overview”The 4HSE desktop is divided into two main sections: the working area (desktop) (highlighted in red) and the toolbar at the bottom (highlighted in blue).
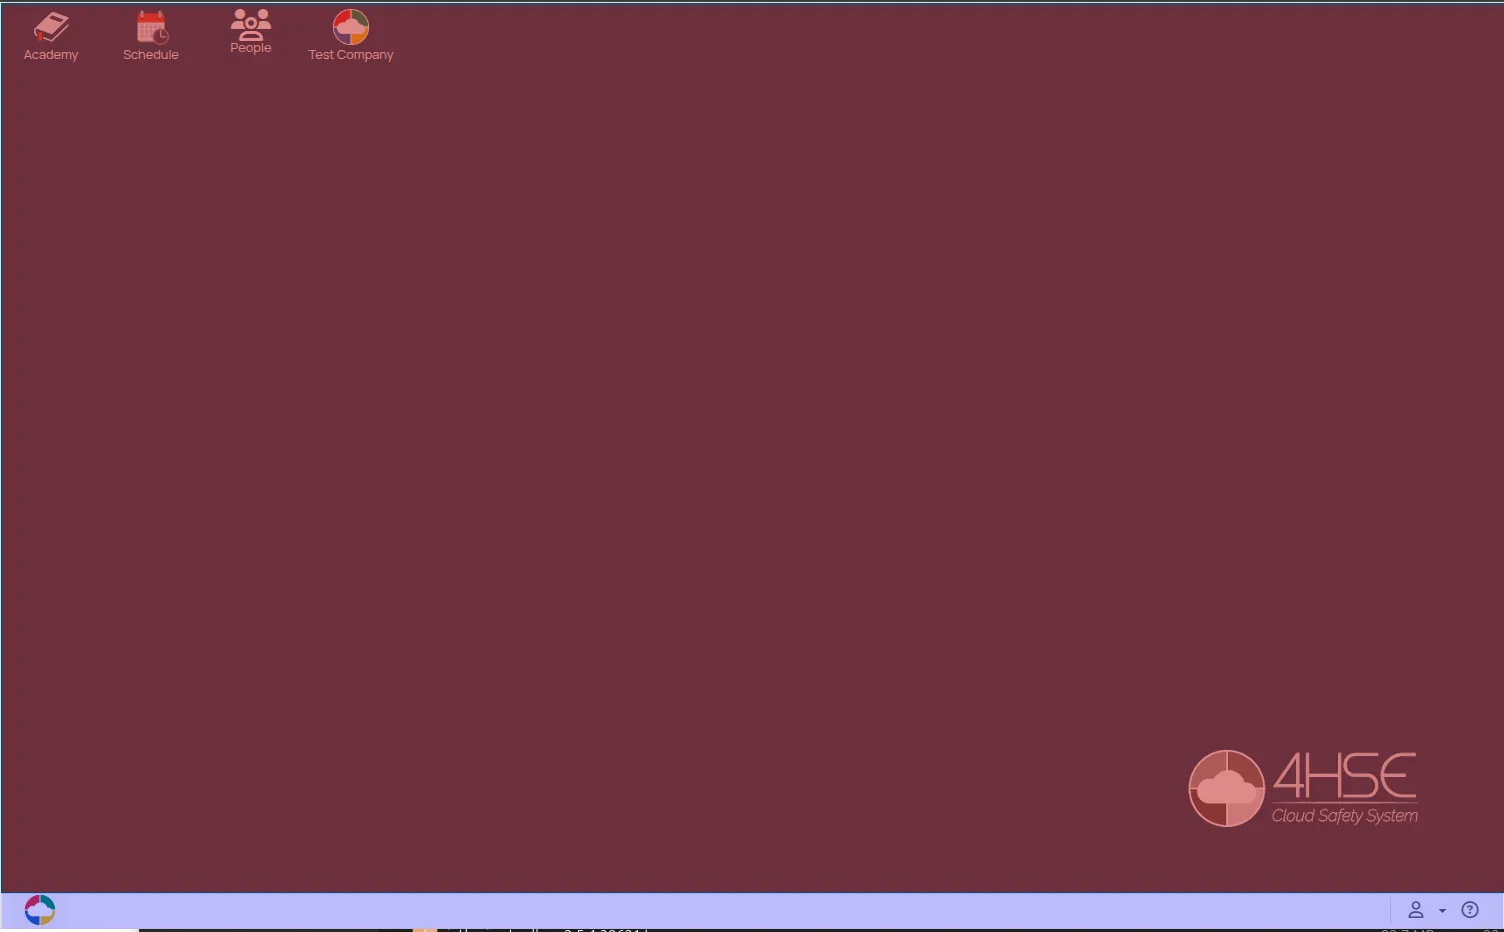
Desktop Area
Section titled “Desktop Area”On the desktop, there are three service icons: the icon for the 4HSE Docs portal, which is the site you are currently visiting. It contains operational guides and API documentation for continuous integration.
The calendar icon provides access to a complete overview of all upcoming and scheduled activities related to all projects and accessible locations. This powerful tool allows you to filter the entered data to view and export only the information relevant to you.
The Suppliers icon allows you to view suppliers, giving you the ability to view associated entities and manage their deadlines.
All other icons represent the projects you’ve created. Double-clicking a project icon opens that specific project, where you can perform related tasks like adding sites and people.
Toolbar
Section titled “Toolbar”At the bottom of the screen is the toolbar, divided into two main areas:
-
Start Menu (bottom left): Provides access to multi-project management features.
-
User Menu (bottom right): Opens settings for your account and other options:
-
Account security settings: Clicking on the email opens the account management panel, where you can:
-
Edit personal information
-
Configure security settings, such as password and two-factor authentication
-
-
Create new projects
-
Customize layout preferences
-
Monitor tasks
-
Log out of the application
-
-
Language Menu: Allows you to change the language of the 4HSE interface.