DVR Printing
You can access the DVR printing function from several entry points, listed below.
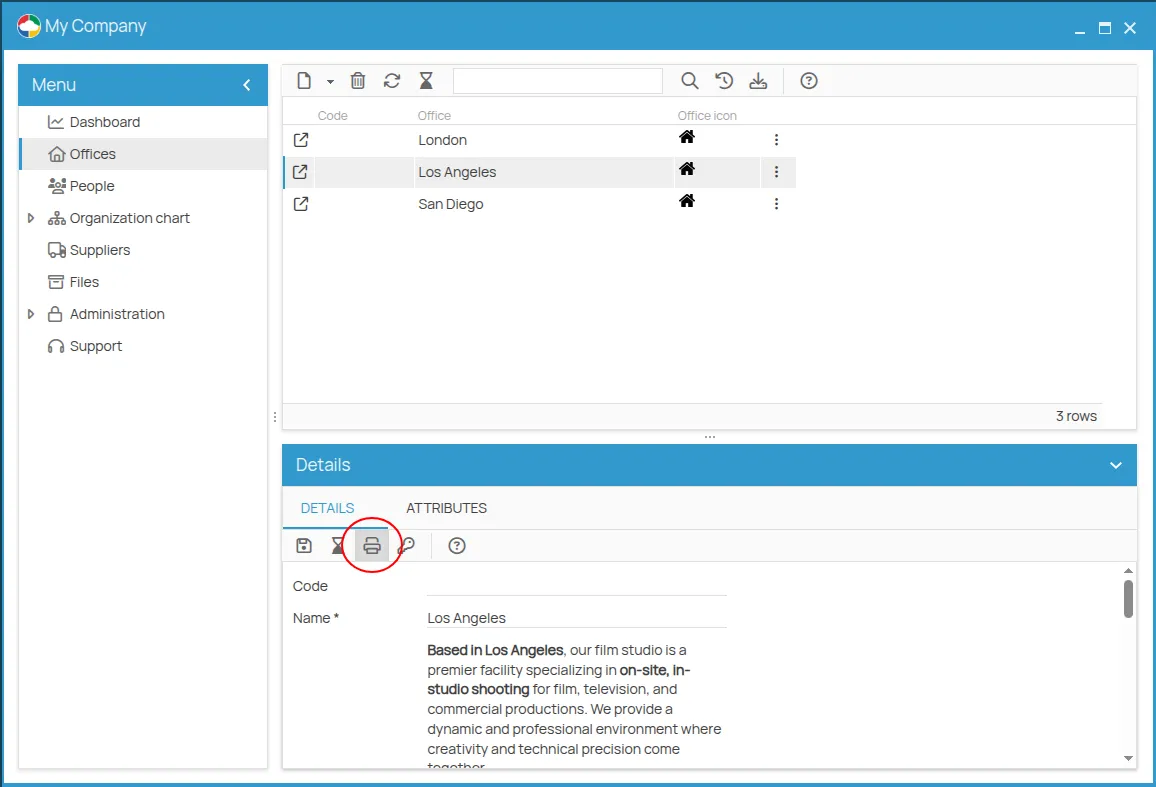
Priting from the “Office” menu
Section titled “Priting from the “Office” menu”Click the row corresponding to the relevant office and then click the
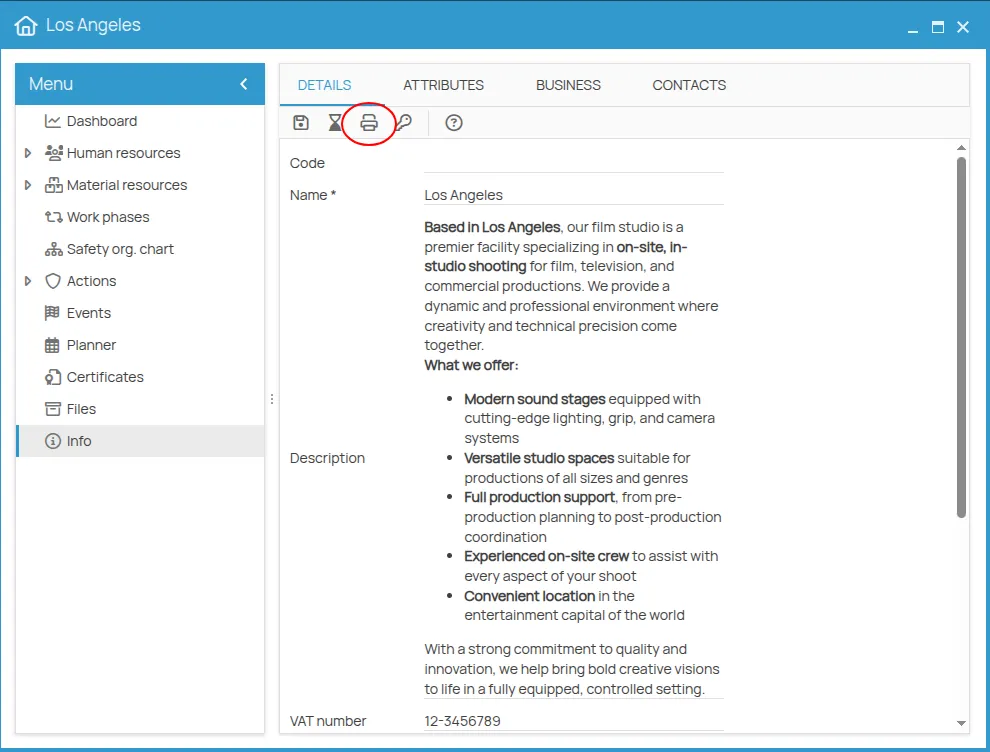
Printing from the “Info” menu of an office
Section titled “Printing from the “Info” menu of an office”Open the office detail page and go to the “Info” menu. In the “Details” tab, click the
Printing procedure
Section titled “Printing procedure”- View the available templates by clicking . Default templates for each document in the context will be shown when the print menu opens.

- Select the desired template from the list and confirm by clicking . For the DVR, both the document template and associated lists (such as employees, equipment, work phases, etc.) are available. These associated lists will be printed as separate attachments to the main DVR document.
You can also customize all document templates—see the instructions later in this document. Once the template is selected, click the “Next” button to proceed to the “Preview” step.
- Do you want to print or export the generated document?
-
To print the DVR: Click the
button at the top left to send the document to a local printer. -
To export the DVR: Click the “Next” button at the bottom of the screen to move to the “Save as” screen. Here, you can export the document in HTML or Microsoft Word 2007/2010 format.
-
Save to your PC: If the “Save to PC” option is selected, click the “Confirm” button at the bottom of the screen to start the export process.
-
Save to 4HSE Documents: If you select “Save to documents”, you’ll be able to choose the internal folder where you want to save the exported document.
-
Click the
button to open your reserved space for documents and attachments. Once you choose the folder where to save the DVR, click thebutton at the top left of the screen. The folder name will now appear on the previous screen. Click “Next” to continue. -
A new tab, previously disabled, called “Details” will now be available. In this screen, you can assign some properties to the document before exporting it to the selected folder. Finally, click the “Confirm” button at the bottom of the screen to start the export process.