Printing and Exporting
The print function for a document is available next to each item where the
- HTML5
- Microsoft Word
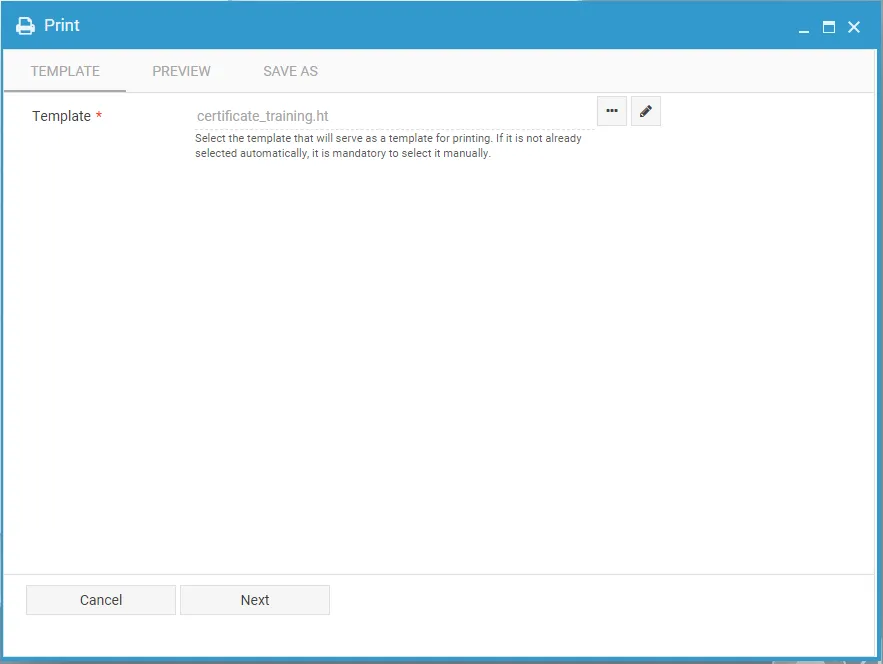
The default templates for a specific document are shown when opening the print menu:
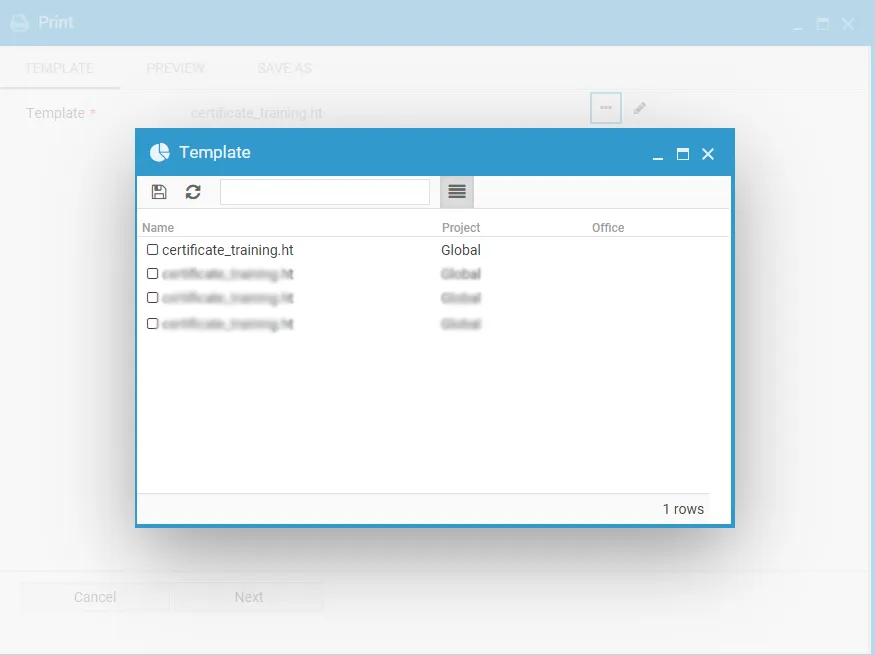
You can view the available templates by clicking the
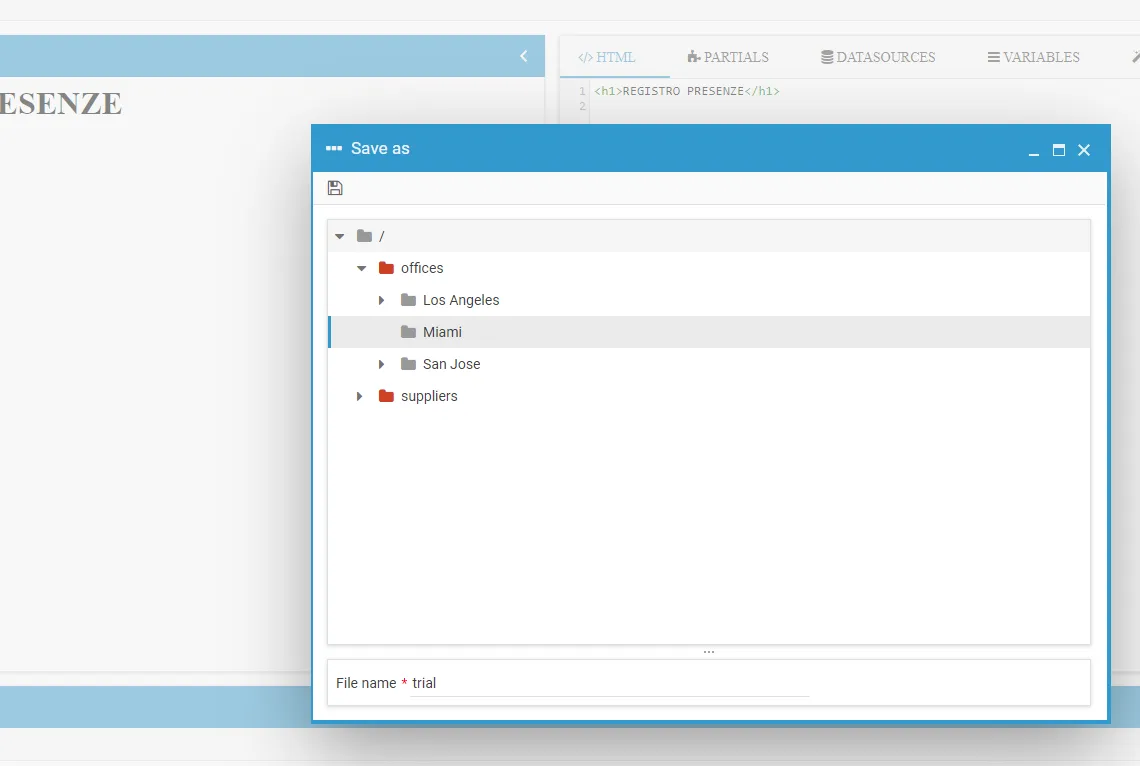
If desired, you can also edit the template, including the HTML code. By clicking the edit icon
Once you’ve made your changes, you can save your custom version using the
The modified file will be automatically used for the first export of the document and will then remain available among the templates for that document.
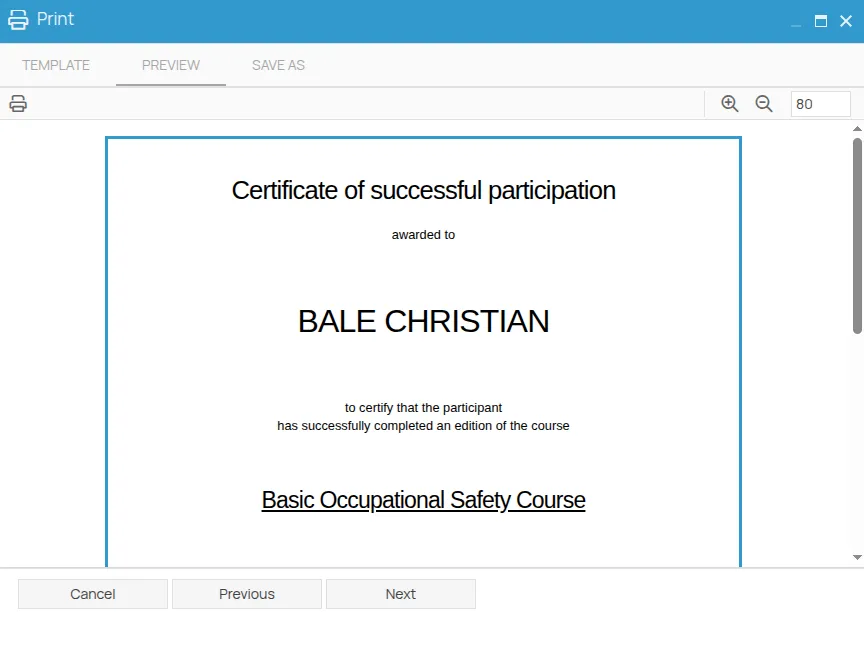
After selecting a template, click Next to preview it.
By clicking the print icon
Alternatively, by clicking the Next button, you’ll proceed to the Export section, where you can choose the file format and destination.
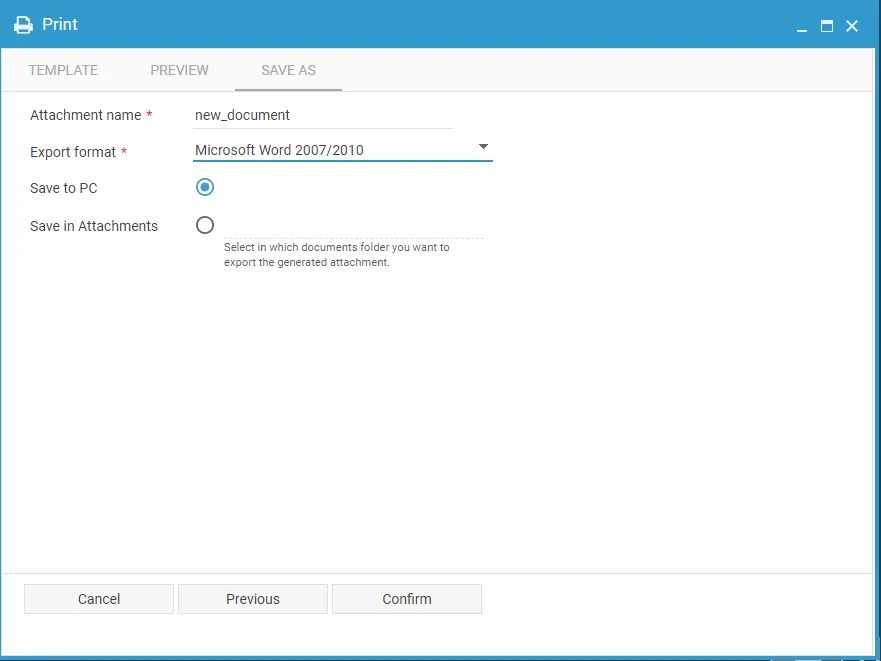
When selecting the Save in documents option, you’ll be prompted to choose the destination path for the file within the relevant Archive section of the software.
In the following step, you’ll be able to define the document name, add a description, and select the people (or organizational roles) to whom you wish to send a notification about the document’s creation.
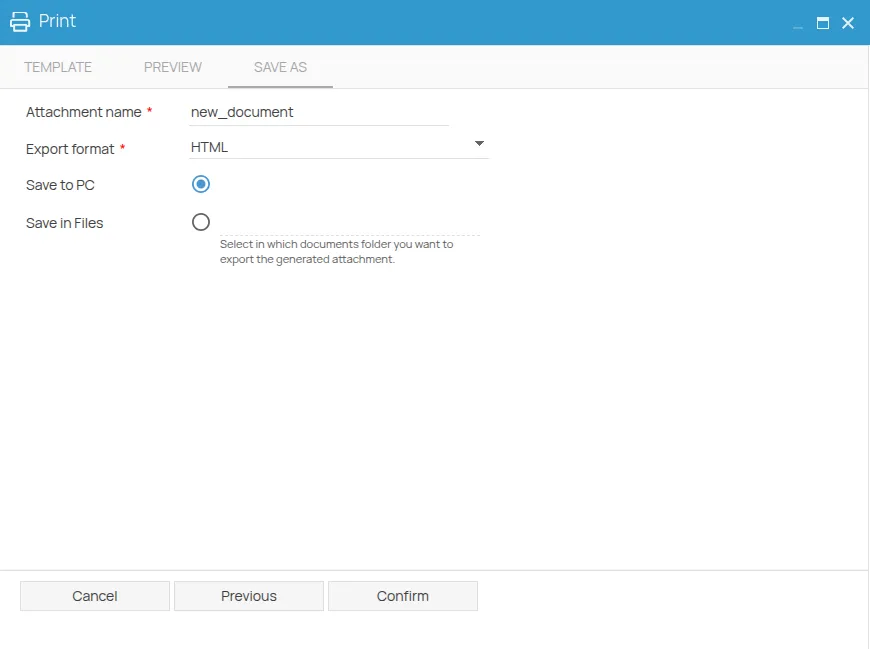
Clicking Confirm will start the export process. You can track its progress in the completion screen that follows.